Technique 1: Initial Access
We will begin testing by establish access to the target Microsoft cloud tenant. In this case, our target tenant is demolab.vectra.ai
Step 1: Select Access Module
In Attack Arsenal menu, select the Access module by typing “Access” and hitting enter.
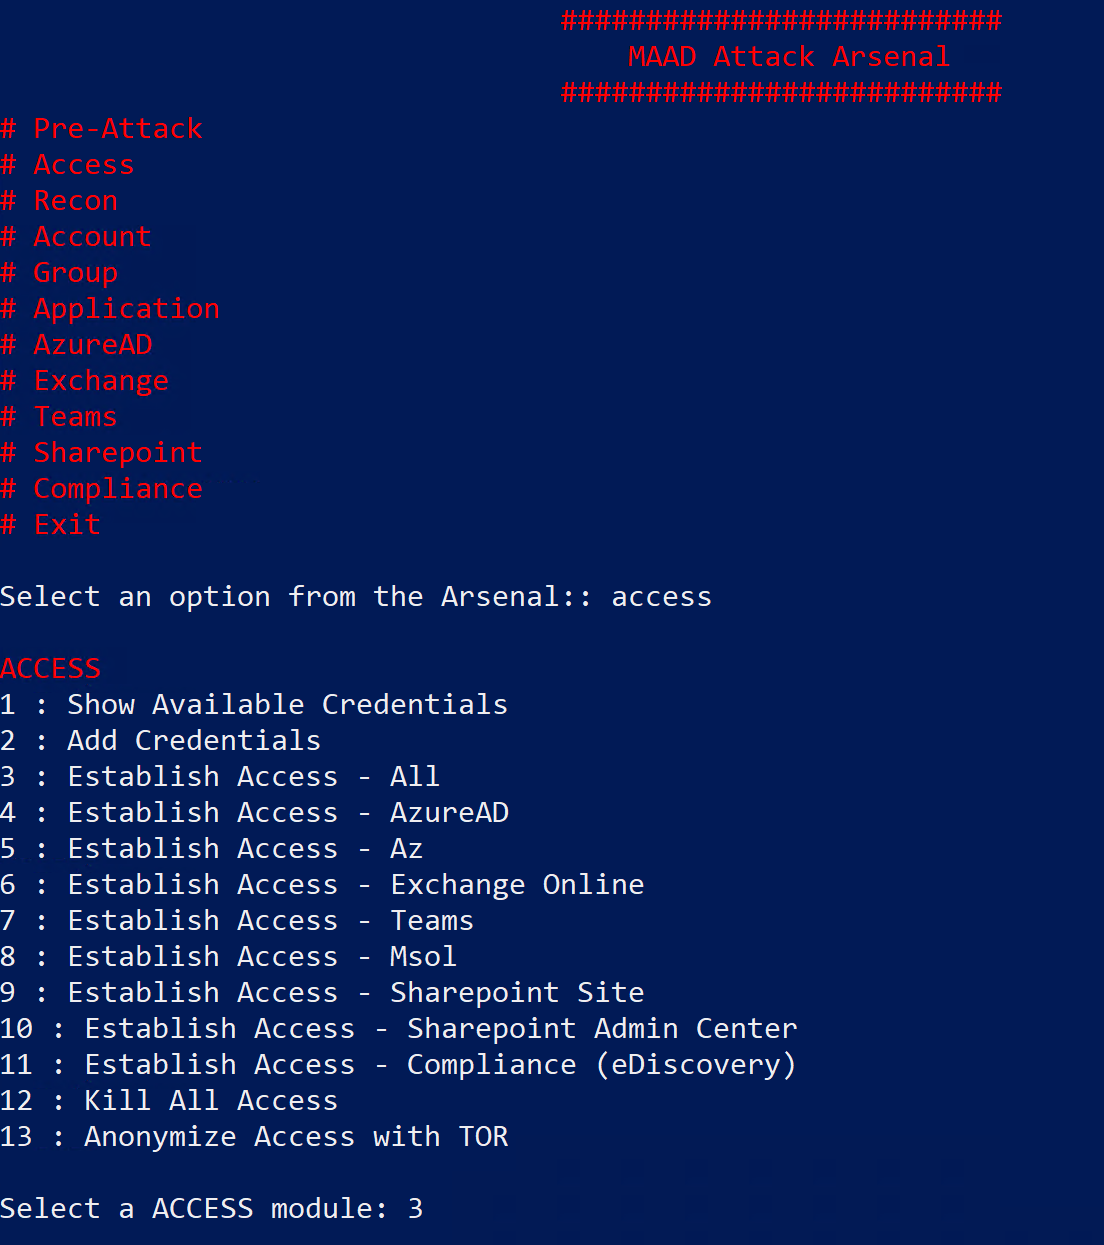
Step 2: Select Access Sub-Module
The sub-modules menu lists specific actions you can execute using MAAD-AF. In this case the different options list actions like accessing the MAAD-AF credential store or establishing access to different Microsoft cloud services.
For this lab you want to establish access to as many services as possible.
Select option 3 by typing “3” and hitting enter.
Step 3: Establish Access
Follow the on-screen prompts in tool to establish access.
Prompt Enter Username : Enter the test username you acquired from TME self service portal
Prompt Enter Password : Enter the password you acquired from TME self service protal
Note: When pasting password into PowerShell terminal -
make sure you see more than one '*' on your screen (rougly the length of your actual password).

If you see only one * that means the password is pasted incorrectly.

Its a quirk of PowerShell.

Also, pro tip:
Once you have copied your password, you can press right click on your PowerShell terminal to paste.
Watch MAAD-AF enumerate through various Microsoft cloud services and establish access to them.
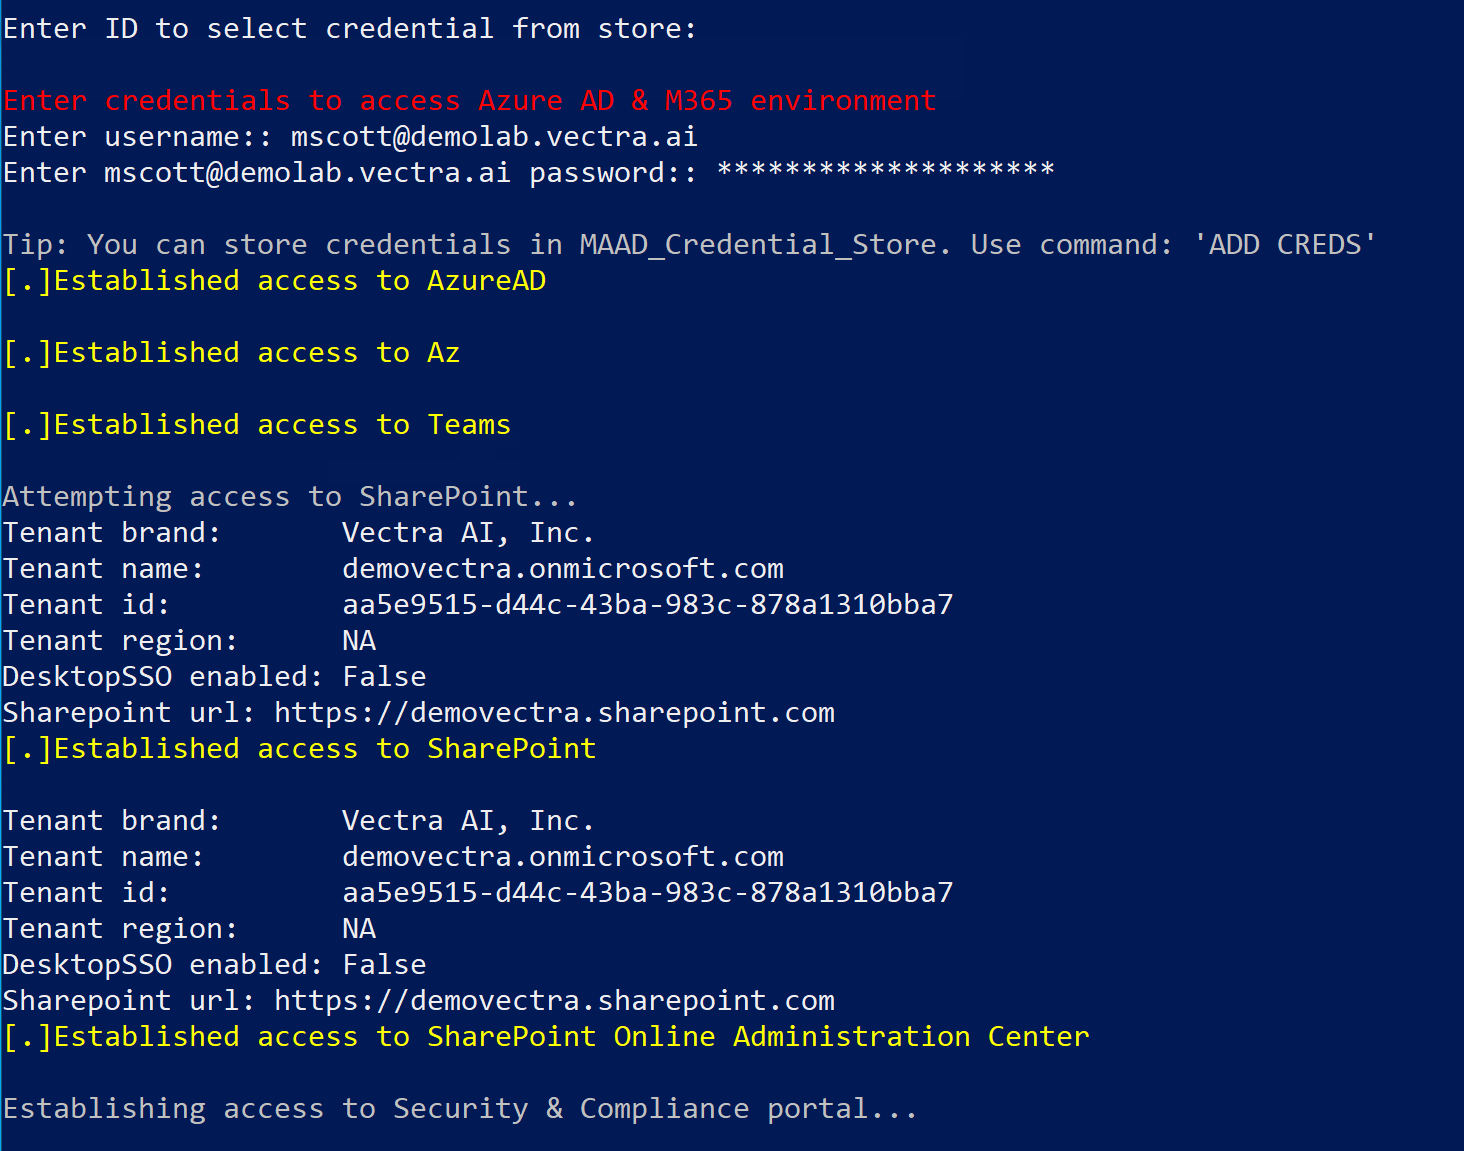
Its is perfectly OK if you cannot establish access to one or two services out of all.
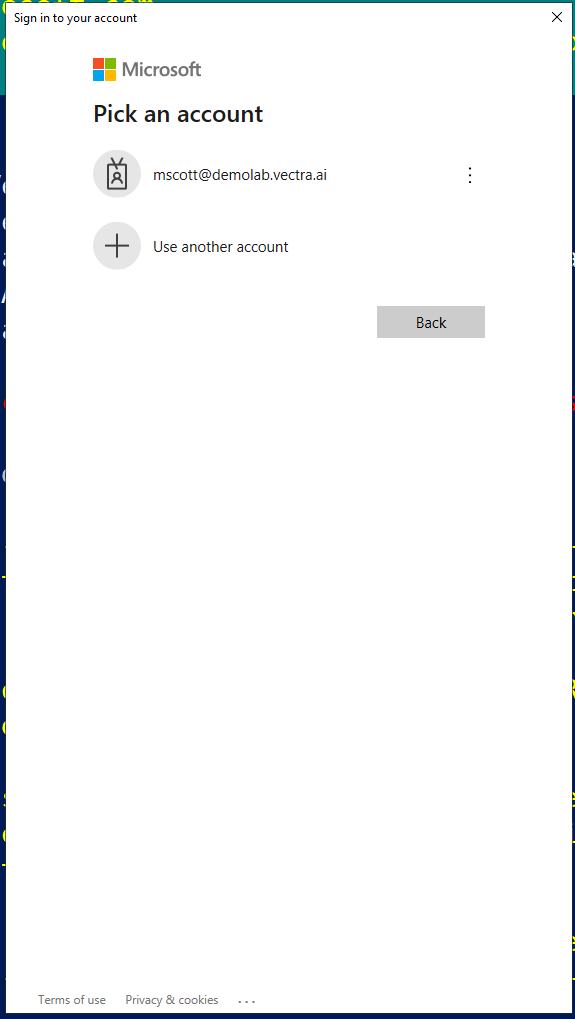
During this process if you get an interactive pop up to select a account then choose the one you used to establish access and enter its password.
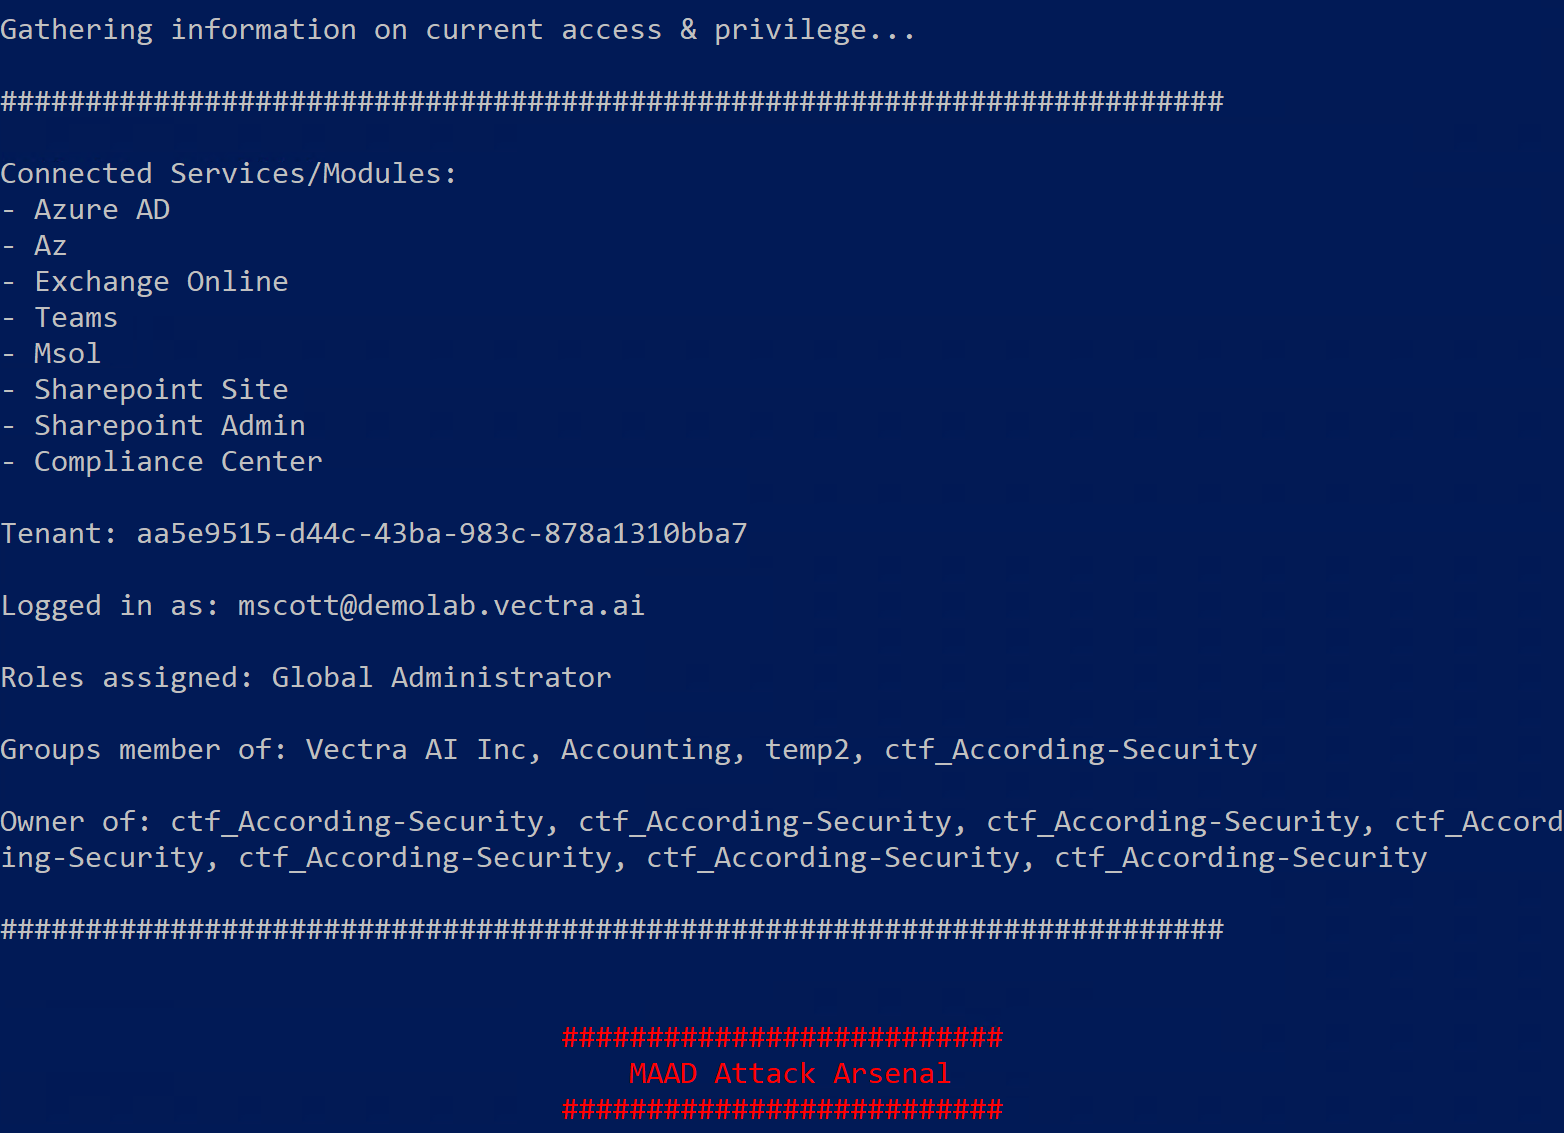
Initial access module will complete automatically and present with an
access summarydisplayed in gray. This summary provides information like -Services successfully connected to using your supplied credentials,
Connected tenant
Current privileges assigned to your account
Groups & resources current user is part of
Checkpoint: 2
Take a screenshot of the access summary upon completion of initial access module. An example of how the screen would look is provided below.
Note: The information in the summary will be different for everyone